• Home
  • Knowledge Base
    • Licensing New (VIOSO 6, EXAPLAY)
    • Operation
    • Quality Improvement
    • References
    • Licensing Old (Anyblend, Player)
  • Documentation
    • VIOSO 6
    • VIOSO 6 Integration
    • EXAPLAY
    • VIOSO Core 5
    • VIOSO Anyblend 5
    • VIOSO Anyblend VR&SIM 5
    • VIOSO Integrate 5
    • VIOSO Player 2
  • FAQ
    • Error and other feedback
    • Licensing
    • System & Requirements
  • Videos
  • Home
  • Knowledge Base
    • Licensing New (VIOSO 6, EXAPLAY)
    • Operation
    • Quality Improvement
    • References
    • Licensing Old (Anyblend, Player)
  • Documentation
    • VIOSO 6
    • VIOSO 6 Integration
    • EXAPLAY
    • VIOSO Core 5
    • VIOSO Anyblend 5
    • VIOSO Anyblend VR&SIM 5
    • VIOSO Integrate 5
    • VIOSO Player 2
  • FAQ
    • Error and other feedback
    • Licensing
    • System & Requirements
  • Videos

VIOSO Player 2

home/Documentation/VIOSO Player 2
Expand All Collapse All
  • VIOSO Player Software Overview
  • VIOSO Player System requirements
  • Supported file formats
  • VIOSO Player main window explained
  • Playlist
    • Media options
  • Live Input
  • Autostart
  • Playlist Remote control
  • Running multiple players

Autostart

999 views 0

Emanuel
March 19, 2020

VIOSO Player can be configured to auto load a multi-display calibration and playlist, as well as displaying the contents in show mode immediately.

Table of Contents

      • 1. Auto load calibration:
      • 2. Check “Auto Play” in the playlist window:
  • How to configure VIOSO Player for Autostart?
  • How to launch VIOSO Player at Windows Startup?

1. Auto load calibration:

After a calibration has been performed, save it and select from Menu “File”: ‘Activate Auto loading on Startup’ => Next time the program starts, the previously-stored calibration will be loaded and applied to the target output (which is saved in the calibration settings, as well).

2. Check “Auto Play” in the playlist window:

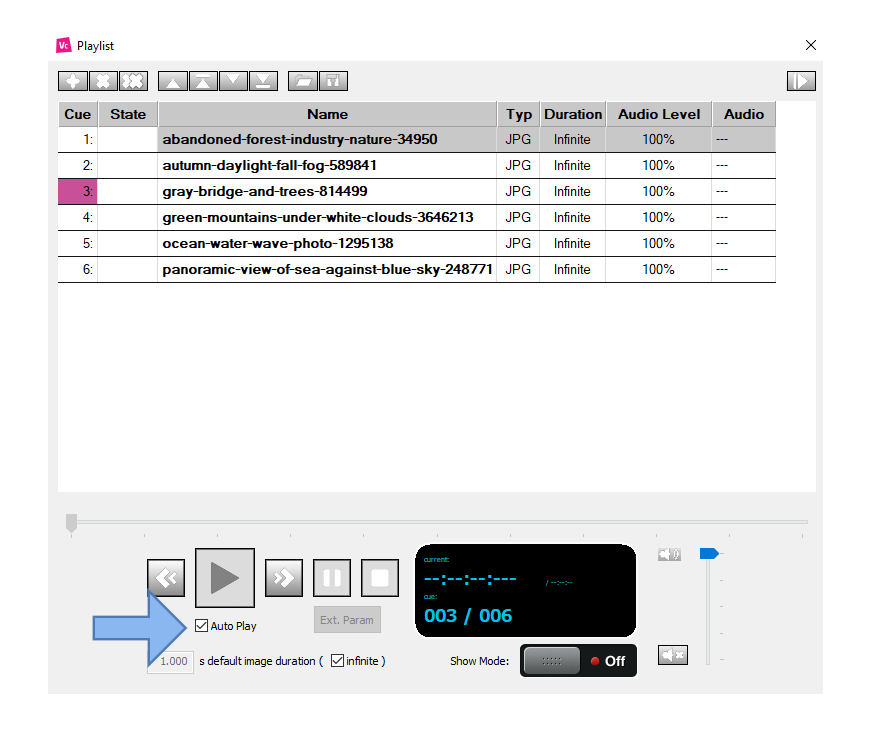
This makes sure that the content of the playlist is played without user interaction.

How to configure VIOSO Player for Autostart?

You can configure VIOSO Player for unattended installations.

You will need to:

  • Run on system startup.
  • Load a calibration and run in full screen.
  • Play a list of content in loop or show the live input.

To achieve this, follow these steps:

  1. Complete calibration and warping.
  2. Set source:
    • Populate playlist, arrange settings for looping, etc.
    • Or set to Live Input.
  3. Set Player in full-screen mode.
  4. While Player is ON and playing, select ‘Menu / File’: “Activate Autoloading on startup”.
    • Now the calibration is copied to “_Startup.sps”
    • Each time Player starts, “_Startup.sps” is loaded and the situation at the time of saving is recreated.
  5. Put Player in Autostart.

The next time you start VIOSO Player, the output that you have configured will produce the player without any further interaction.

How to launch VIOSO Player at Windows Startup?

The easiest way is putting VIOSO Player into the Windows’ startup folder. A detailed description how to access the startup folder of Windows 10 is available here: https://windowsloop.com/startup-folder-location/. This way, applications are launched immediately after the Windows start, which might cause problems for performance-critical applications like VIOSO Player. Therefore, we recommend another way to launch VIOSO Player automatically:

Read here how to use the built-in Task Scheduler of Windows to launch applications with a certain delay: Using Windows Task Scheduler to launch applications delayed on startup

Was this helpful?

Yes  No
Related Articles
  • Media options
  • VIOSO Player Software Overview
  • VIOSO Player System requirements
  • Supported file formats
  • VIOSO Player main window explained
  • Playlist

Didn't find your answer? Contact Us

Previous
Live Input
Next
Playlist Remote control
  • Ticket System
  • VIOSO Home
  • Imprint
  • Forum
  • © 2020-now VIOSO GmbH. All Rights Reserved.

We use cookies on our website to give you the most relevant experience by remembering your preferences and repeat visits. By clicking “Accept”, you consent to the use of ALL the cookies.
Do not sell my personal information.
Cookie settingsACCEPT
Manage consent

Privacy Overview

This website uses cookies to improve your experience while you navigate through the website. Out of these, the cookies that are categorized as necessary are stored on your browser as they are essential for the working of basic functionalities of the website. We also use third-party cookies that help us analyze and understand how you use this website. These cookies will be stored in your browser only with your consent. You also have the option to opt-out of these cookies. But opting out of some of these cookies may affect your browsing experience.
Necessary
Always Enabled
Necessary cookies are absolutely essential for the website to function properly. This category only includes cookies that ensures basic functionalities and security features of the website. These cookies do not store any personal information.
Non-necessary
Any cookies that may not be particularly necessary for the website to function and is used specifically to collect user personal data via analytics, ads, other embedded contents are termed as non-necessary cookies. It is mandatory to procure user consent prior to running these cookies on your website.
SAVE & ACCEPT