If you want to edit or correct your calibration, you can do this instantly by clicking on the ‘Edit’ button.
This will make the system carry out 3 steps automatically:
- A snapshot of the current Windows desktop is created.
- The hooking is deactivated.
- VIOSO Core is launched.

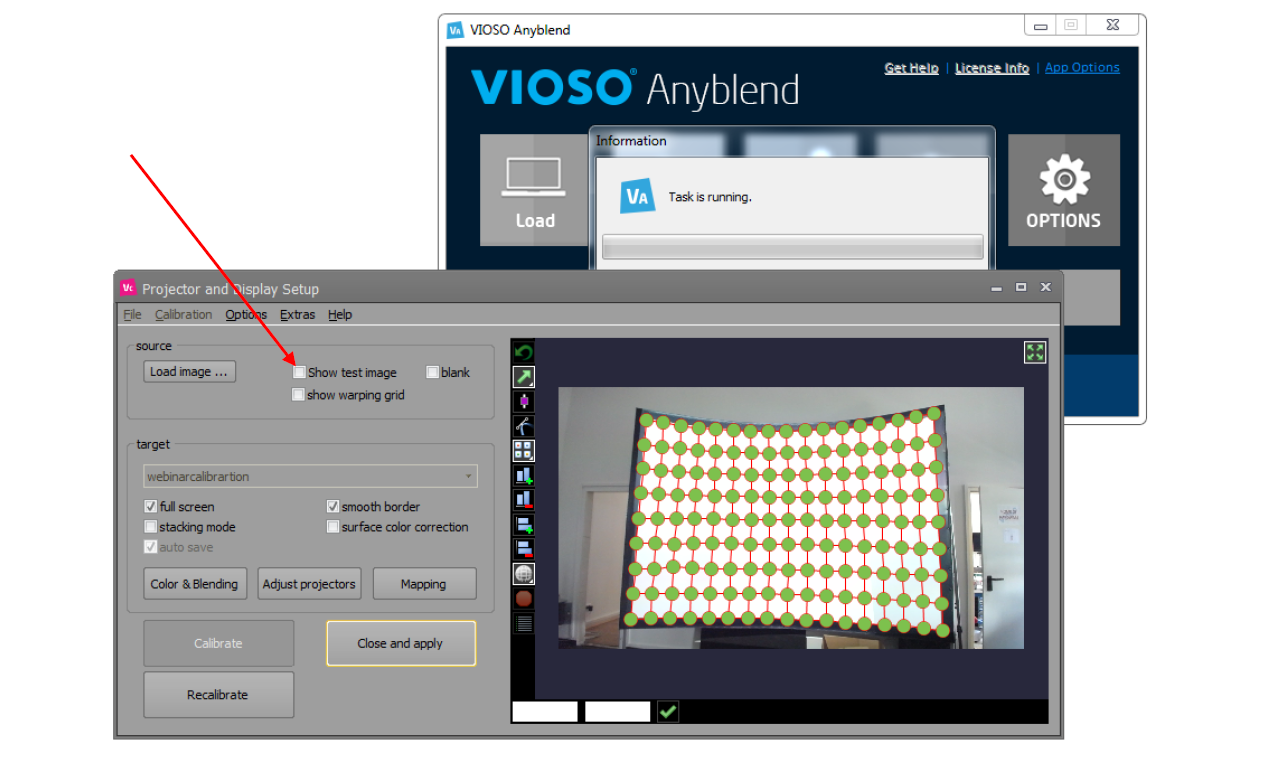
Once the calibration is loaded, you have the possibility to do all necessary corrections and adjustments using the screenshot as a test pattern.
This feature allows you to make changes directly on the content or application that is being used on the blended multi-projection.
However, you can always use your test pattern or a default one by checking the box ‘Show test image’ or loading another image.

For the in-depth guidelines of different editing possibilities, check the “VIOSO Core” section.
If you do not use a separate monitor for operation and work directly on the projection, you will only see the screenshot on screen. To view the Core main window, simply right click on the screen and choose “Show user interface” from the pop-up menu or click ‘F2’.
Once you are satisfied with the result, click ‘Close and apply’. The changes will be overwritten and saved in the calibration file currently loaded.
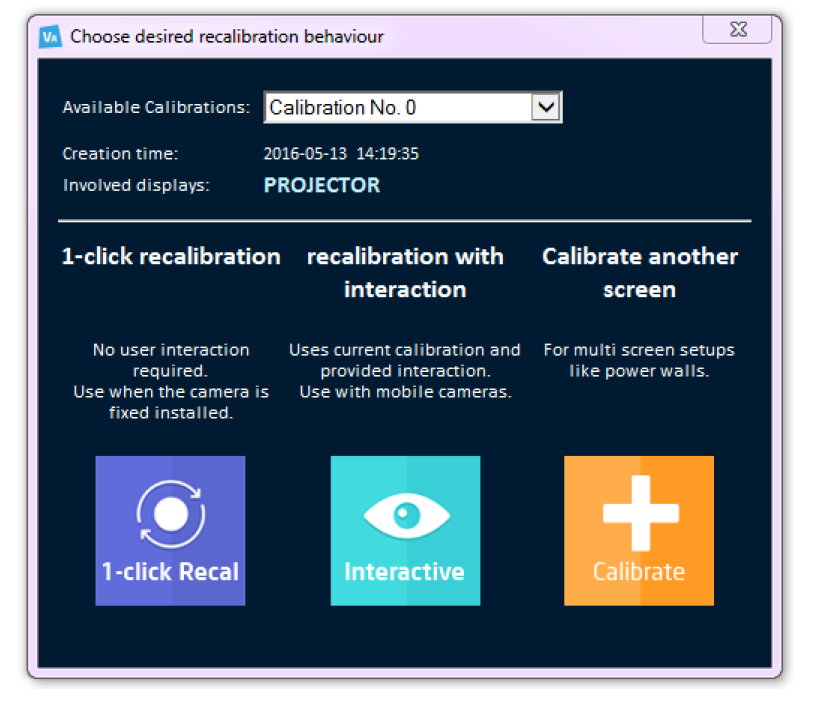
If you need to re-calibrate the projectors (after they have been moved or shifted), you can start new calibration procedure by clicking “Recalibrate”.
Pressing the ‘Edit’ button will call on the Core software to edit your calibration.