• Home
  • Knowledge Base
    • Licensing New (VIOSO 6, EXAPLAY)
    • Operation
    • Quality Improvement
    • References
    • Licensing Old (Anyblend, Player)
  • Documentation
    • VIOSO 6
    • VIOSO 6 Integration
    • EXAPLAY
    • VIOSO Core 5
    • VIOSO Anyblend 5
    • VIOSO Anyblend VR&SIM 5
    • VIOSO Integrate 5
    • VIOSO Player 2
  • FAQ
    • Error and other feedback
    • Licensing
    • System & Requirements
  • Videos
  • Home
  • Knowledge Base
    • Licensing New (VIOSO 6, EXAPLAY)
    • Operation
    • Quality Improvement
    • References
    • Licensing Old (Anyblend, Player)
  • Documentation
    • VIOSO 6
    • VIOSO 6 Integration
    • EXAPLAY
    • VIOSO Core 5
    • VIOSO Anyblend 5
    • VIOSO Anyblend VR&SIM 5
    • VIOSO Integrate 5
    • VIOSO Player 2
  • FAQ
    • Error and other feedback
    • Licensing
    • System & Requirements
  • Videos

VIOSO Anyblend 5

home/Documentation/VIOSO Anyblend 5
Expand All Collapse All
  • VIOSO Anyblend Software Overview
  • Video Tutorial: Typical Projector Setup
  • VIOSO Anyblend vs. VIOSO Anyblend VR&SIM
  • System requirements and specifications
    • GPU setup
      • GPU drivers for Anyblend
      • Configuring an NVIDIA Quadro GPU-based system
    • VIOSO Anyblend download and installation
  • System preparation
    • EDID management
    • GPU Display Spanning
  • VIOSO Anyblend main window explained
  • Calibration (single client)
    • New calibration
    • Edit calibration
    • 1-click Recalibration
  • Embedding Calibrations in Windows
    • NVAPI vs. Windows Aero
    • Windows Aero (Windows 7 only)
  • Global program configuration
    • Configuration files and location
    • Autostart
  • Remote Control of Anyblend

Autostart

492 views 0

Emanuel
March 10, 2020

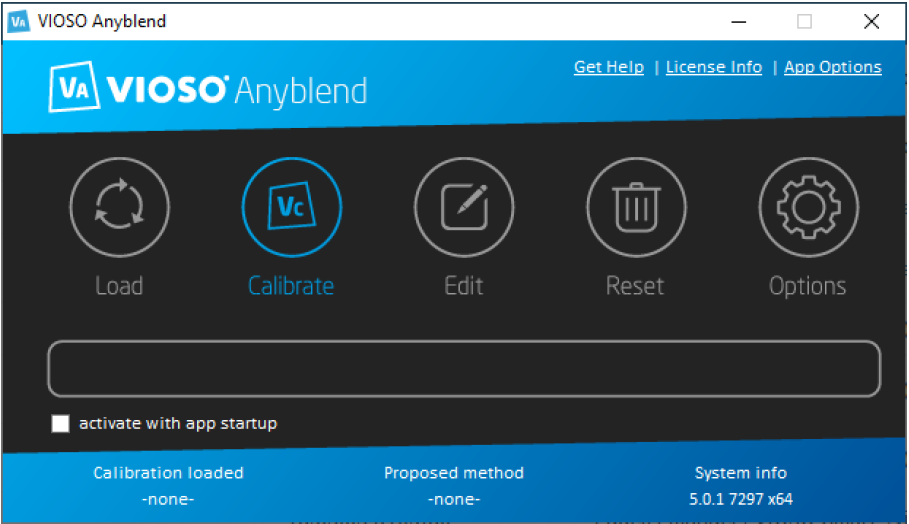
Once you are satisfied with the calibration result and would like to make it run automatically every time the system starts, follow these steps:

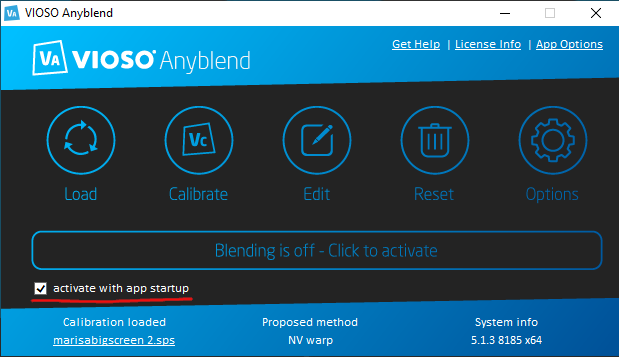
  • Step 1- Check box “Activate with app startup” in the VIOSO Anyblend main window. This will make your current calibration the startup calibration.
  • Step 2-  Put VIOSO Anyblend in Windows Startup:
    • Open the startup folder (Start menu -> Right-click on Startup folder -> Open).
    • Make a copy of VIOSO Anyblend shortcut and place it in the startup folder.

You can find and open the startup folder on any Windows with any language interface by typing the following command in the “Run..” or Search field and pressing Enter:

shell:startup

Removing the calibration from autostart

Follow these steps to remove the calibration from the system startup:

  • Step 1- Deactivate the calibration in Anyblend by pressing the ‘Deactivate’ button.
  • Step 2- Un-check the box “Activate with app startup”.
  • Step 3- Press ‘Reset’ button to unload the calibration from Anyblend.

After these steps are done, there will be no calibration loaded with Anyblend startup. You will notice that some buttons on the Anyblend main window will become inactive (gray):

Was this helpful?

Yes  No
Related Articles
  • GPU drivers for Anyblend
  • NVAPI vs. Windows Aero
  • New calibration
  • GPU setup
  • Configuring an NVIDIA Quadro GPU-based system
  • Windows Aero (Windows 7 only)

Didn't find your answer? Contact Us

Previous
Configuration files and location
Next
Remote Control of Anyblend
  • Ticket System
  • VIOSO Home
  • Imprint
  • Forum
  • © 2020-now VIOSO GmbH. All Rights Reserved.

We use cookies on our website to give you the most relevant experience by remembering your preferences and repeat visits. By clicking “Accept”, you consent to the use of ALL the cookies.
Do not sell my personal information.
Cookie settingsACCEPT
Manage consent

Privacy Overview

This website uses cookies to improve your experience while you navigate through the website. Out of these, the cookies that are categorized as necessary are stored on your browser as they are essential for the working of basic functionalities of the website. We also use third-party cookies that help us analyze and understand how you use this website. These cookies will be stored in your browser only with your consent. You also have the option to opt-out of these cookies. But opting out of some of these cookies may affect your browsing experience.
Necessary
Always Enabled
Necessary cookies are absolutely essential for the website to function properly. This category only includes cookies that ensures basic functionalities and security features of the website. These cookies do not store any personal information.
Non-necessary
Any cookies that may not be particularly necessary for the website to function and is used specifically to collect user personal data via analytics, ads, other embedded contents are termed as non-necessary cookies. It is mandatory to procure user consent prior to running these cookies on your website.
SAVE & ACCEPT