Table of Contents
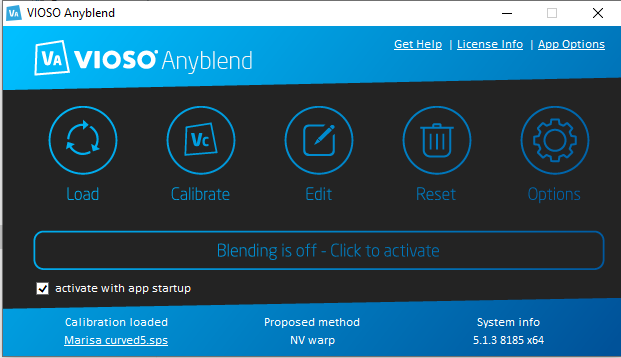
Main user interface
If you are not currently running a calibration only, “Load” and calibrate will be active. The rest of the buttons on the window will be deactivated (grey).
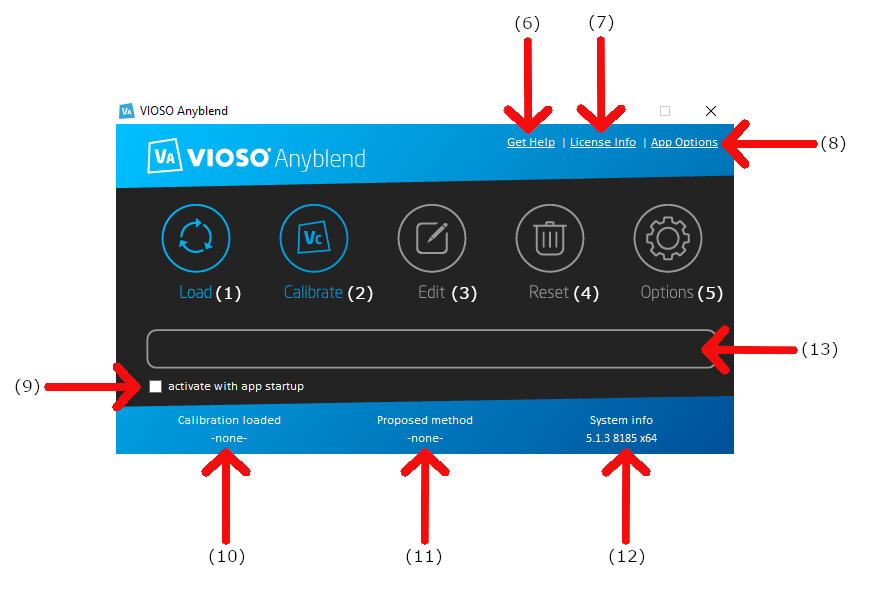
Main Program Buttons
Main
- Load- Load and apply an existing calibration.
- Calibrate- Start a new set up or calibration. This button will call upon the CORE software to open, so it can start a new calibration process.
- Edit- When a calibration is already done and loaded, you can edit it by clicking on this button. This will also call on the CORE software and show you a screenshot of the current calibration so you can edit it.
- Reset- Resets the current calibration (your file is NOT deleted).
- Options- Currently used embedding options (options of your current calibration not for Anyblend).
Top row
-
Get help- Will direct you to a user manual or VIOSO’s online help section.

-
License info- Opens the “License viewer” window where you can get information on the state of your VIOSO license.

-
App Options- Opens the options dialog for Anyblend.

Bottom row
- Activate with startup- If this box is checked, warping and blending will be applied whenever your system restarts.
- Calibration loader- If a calibration is active, the name of the calibration will be displayed here. By clicking on the name of your calibration, a window will pop up showing the location of your calibration file.
- Proposed method- Indicator of the embedding mode that is currently being used.
- System info- Displays which version of the software you are running.
-
Blending bar- Shows the current state of warp & blending engagement (ON or OFF). Clicking here will activate or deactivate your calibration and bring up the initial hook up settings dialog.

When a system is running a calibration, all of the main program buttons will be blue and active.