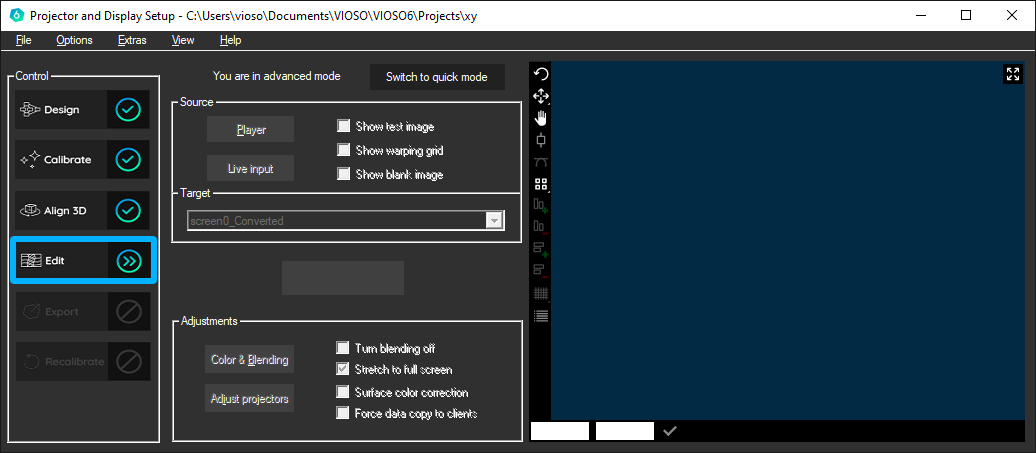
After you have calibrated successfully, a coherent image is created from the individual projector images.
In 2D mode, the camera does not recognize the edges of the screen, the software tries to record the largest possible area. Unless another option has been selected.
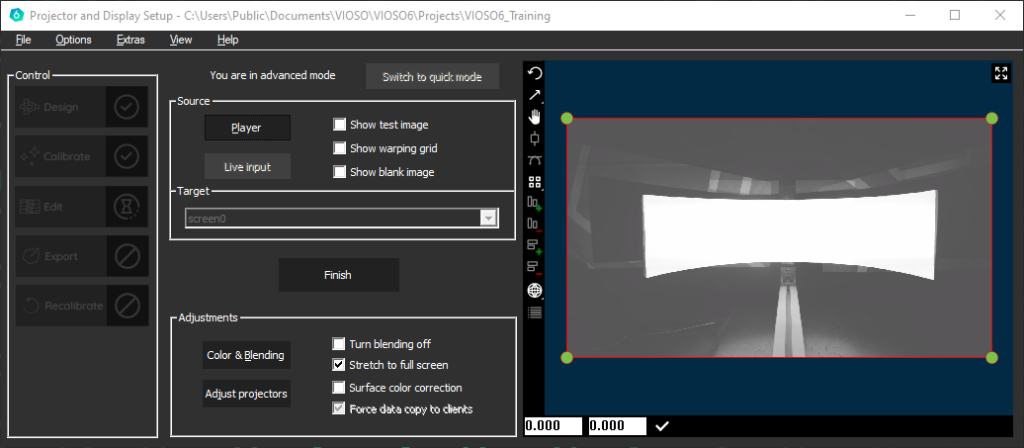
In the 3D workflow, the camera image was superimposed on the object as well as possible in the add 3D area. Nevertheless, inaccuracies must be compensated for, which can result from deviations of the reality from the model, or the intrensics of the camera or the projectors.
[pic]
Warping
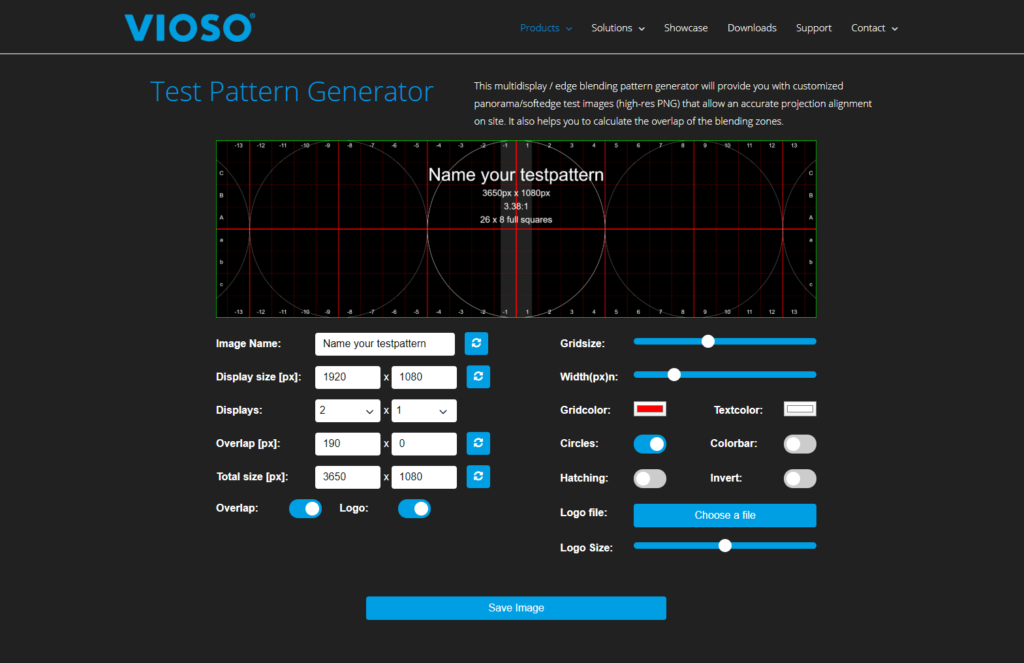
For an undistorted Warp of a screen, a test image should be generated that corresponds to the aspect ratio of the screen
Our testpattern generator can be used for this.
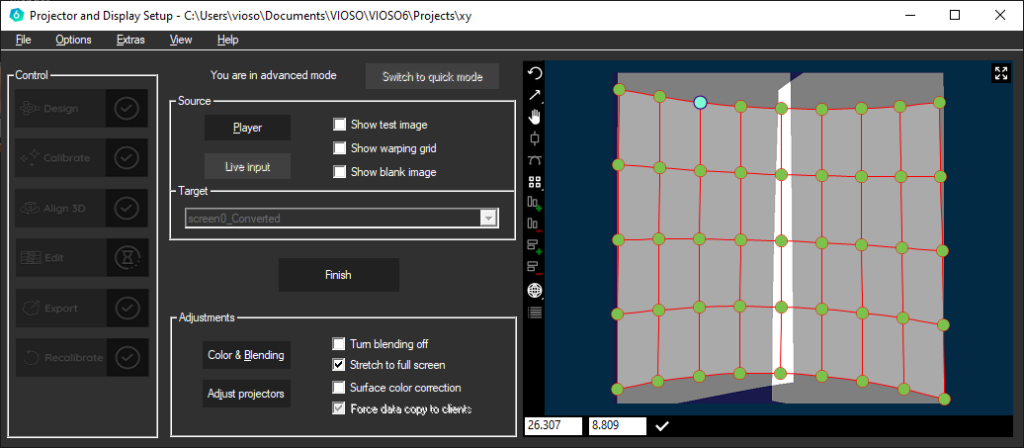
Changes to the warping grid are displayed in real time at the output. To display the grid at the output, a check mark can be set.
In our experience, it is easiest to work with only four points at first and to slowly approach the optimal setup.
Once the first four corners have been placed correctly, further subdivisions can be made if necessary to achieve a more precise adjustment.
The player is available for displaying test content in the form of videos and images. Corresponding content can be inserted via drag and drop or by clicking on the plus symbol.
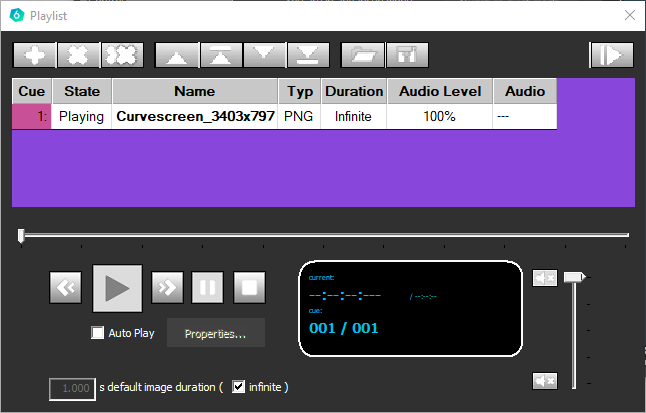
If you want to use the Player as playout plattform read the following article.
Tools
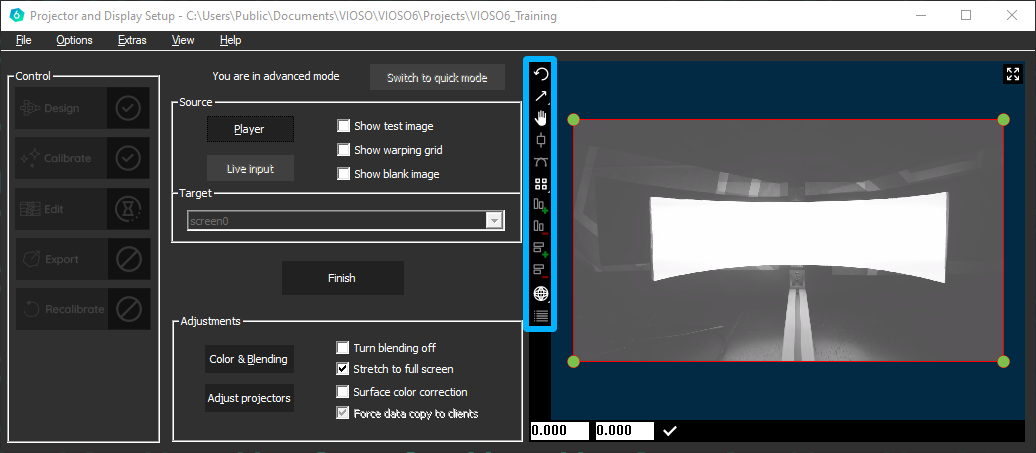
 |
Undo |
 |
Scale |
 |
Move |
 |
Toggle line gripprers |
 |
Toggle Bezier tangents |
 |
Stepping for arrow keys, toggles fine / coarse |
 |
Add grid collums |
 |
Deletes grid collums |
 |
Add grid row |
 |
Deletes grid row |
 |
Toggles curved / linear warp |
 |
Show undo stack |
