A special feature of VIOSO is to apply the calibration to the Windows desktop. This allows any program to be run in Windows and displayed on the calibrated screen.
Popular programs for this are for example: Powerpoint, any Mediaplayer, CAD programs, Resolume etc…
This feature is available only for specific GPU types, please check the system requirements here.
Table of Contents
How to use desktop hooking in VIOSO 6?
1. System Preparation
- Install the recommended driver for your GPU: /knowledgebase/requirements-gpu-driver-for-anyblend/
- Prepare your GPU to span on multiple displays, e.g: creating an nvidia mosaic
2. Project Creation
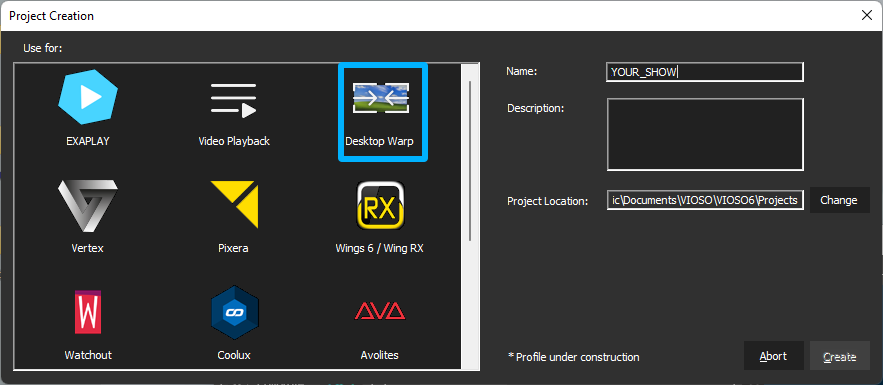
- In Project mode, create a new project with the preset: “Desktop Warp”.

3. Project Design
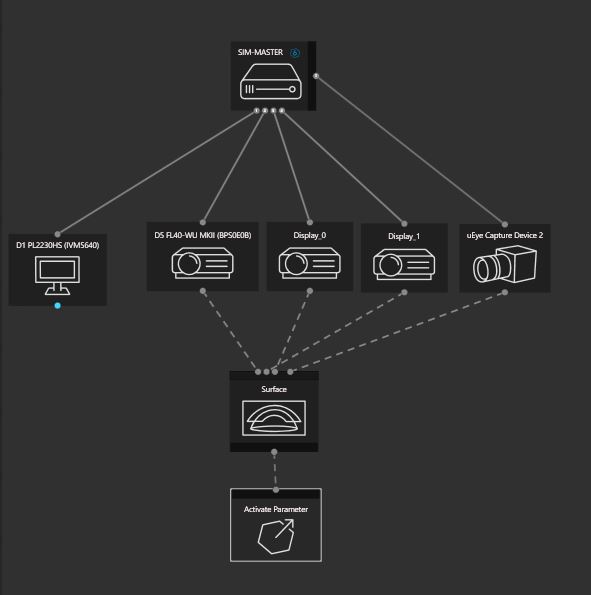
- Draw and connect your components in the Design window.

Example: Desktop project for 3x channels In this preset, there are 2 main options to customize:
| Option | Method | Parameter examples | Screenshot |
| Overlap type | Select the server node.
Find on the display configuration the “Desktop Warp” button. It will open a window where you can chose the overlap type |
|
 |
| Activate parameter | Click on the node from the layout to expand its parameters |
|
 |
4. Calibration
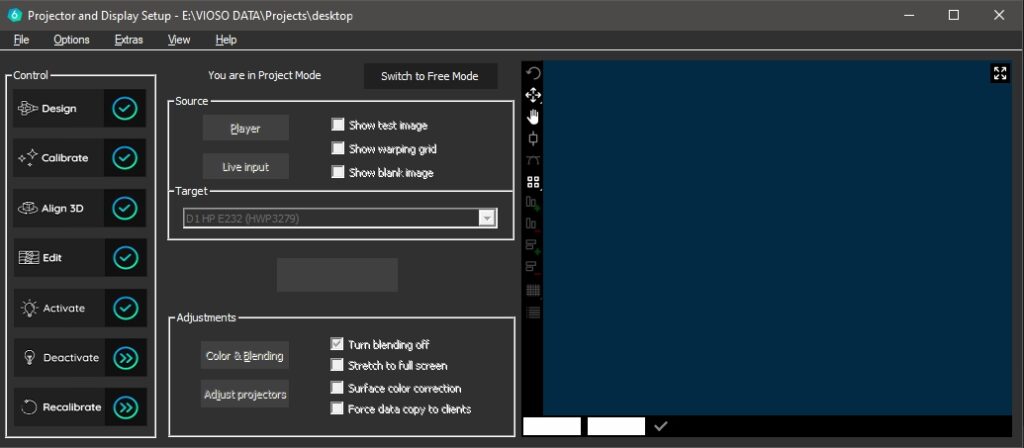
- Follow the instructions for the calibration as usual Guide on the calibration steps
5. Activate
- Finally, when the calibration is finished you will unlock the button “Activate” which applies the warping and blending to the GPU.
