If your calibration was successful, the following dialog will appear on your screen:
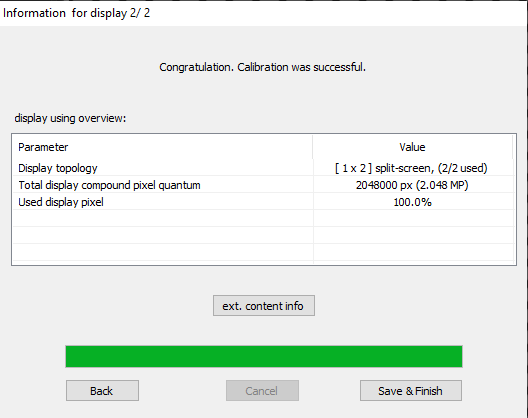
Click ‘Save and finish’.
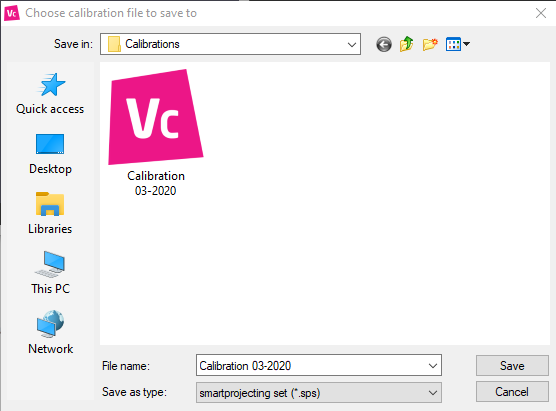
Choose a location on your system and save your calibration.
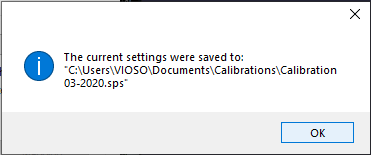
A dialog will appear showing the location of the calibration file you just saved.
Finalizing
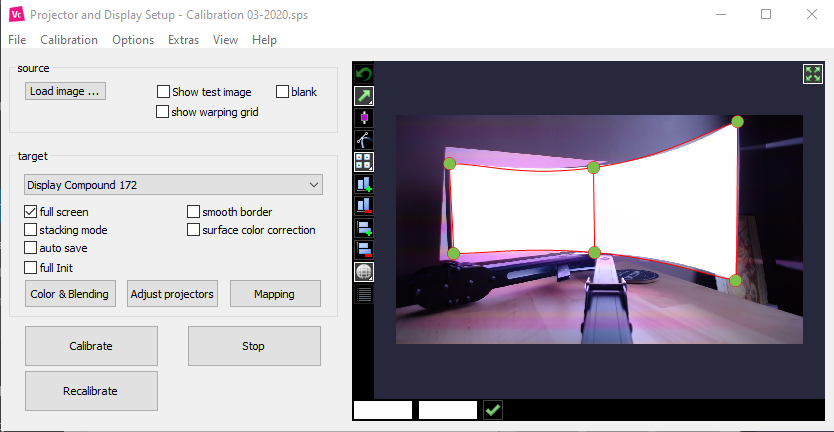
Now that the projector alignment and blending procedure is finished, the main user interface will appear.
Under the target drop down, you will see your display compound. To visualize your calibration on the main window, click ‘Preview’:
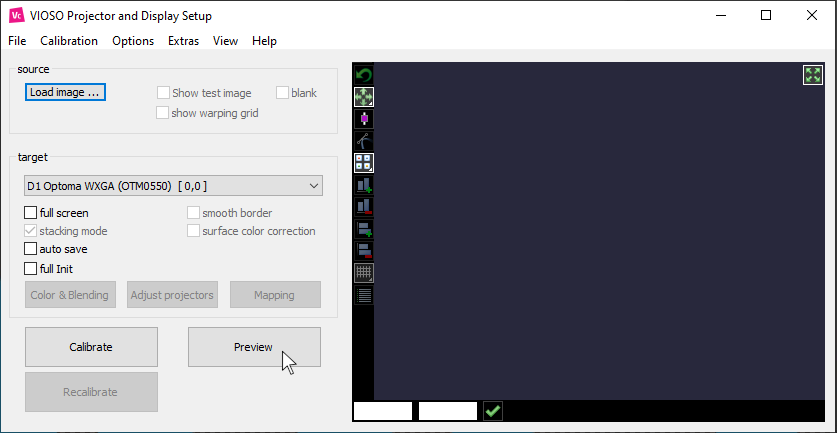
Now your calibration is active on the main interface.
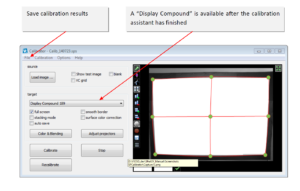
The full calibration settings need to be saved. Select ‘File – Save Settings’ to write a full Calibration Dataset (SPS) to disk.
IMPORTANT NOTE:
Saving takes a noticeable amount of time and requires a lot of disk space. Do not interrupt the saving procedure, even if it takes minutes (depending on the resolution of projectors and camera) and make sure that there is sufficient space on the disk or drive.