Table of Contents
Main user interface
Top menu
File- Main file and project options.
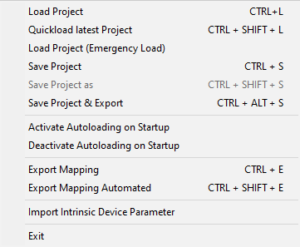
Calibration- Main calibration options.
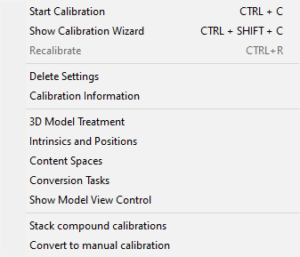
Options- VIOSO Core main settings.

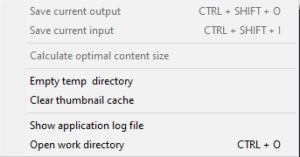
Extras- Auxiliary functions.
View- Toggles omnipresent UI.
![]()
Help- General info and access to license management.
![]()
Main Area
Source

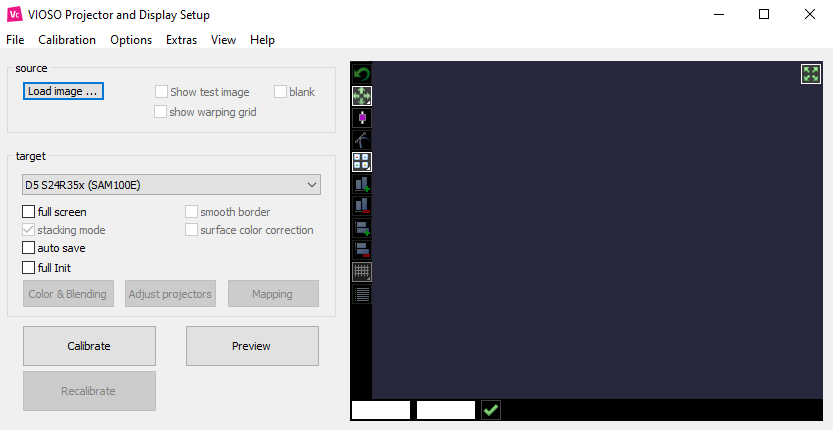
- Load image- Load an image from disk to be used in the preview.
- Show test image- Show VIOSO’s default test pattern. As long as this box is checked, you will see the default test pattern on screen even if an image is loaded.
- Show warping grid- View a grid on the projected image.
- Blank- Remove image from preview. Black background.
Target
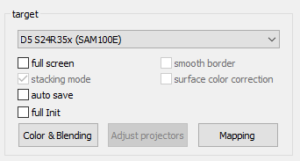
On the target drop down menu, select the display you want to be the target output of the calibration.
Once you have finished the calibration process, a display compound with the calibration data will become the target of your project.
- Full screen (check box)- Show the resolution of the projected image either on full screen or on the native resolution of the image.
- Stacking mode (check box)- Disables blending and amplifies the brightness of the blending area.
- Auto save (check box)- If checked, the current parameters are saved when activating a preview.
- Full Init (check box)- If checked, it will update all current parameters when activating a preview on all clients (Useful for multi-client setups only).
- Smooth border (check box)- Slightly changes the borders of the projectors. This tool is useful when exporting calibrations for other programs like Pandora’s box, etc.
- Surface color correction (check box)- Enable color surface correction (if applicable).
Calibrate

- Calibrate- Click here to start a new calibration process.
- Preview- Once you finish a calibration process or have loaded a calibration, click here to visualize it.
- Recalibrate- Will be active only once a calibration is loaded. Click here to re-calibrate your project.
Virtual Canvas (VC) area
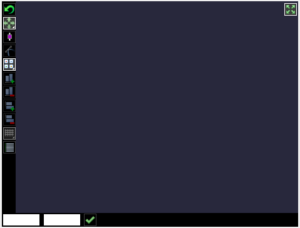
- Warping tools – For a detailed explanation, refer to the warping section.

