• Home
  • Knowledge Base
    • Licensing New (VIOSO 6, EXAPLAY)
    • Operation
    • Quality Improvement
    • References
    • Licensing Old (Anyblend, Player)
  • Documentation
    • VIOSO 6
    • VIOSO 6 Integration
    • EXAPLAY
    • VIOSO Core 5
    • VIOSO Anyblend 5
    • VIOSO Anyblend VR&SIM 5
    • VIOSO Integrate 5
    • VIOSO Player 2
  • FAQ
    • Error and other feedback
    • Licensing
    • System & Requirements
  • Videos
  • Home
  • Knowledge Base
    • Licensing New (VIOSO 6, EXAPLAY)
    • Operation
    • Quality Improvement
    • References
    • Licensing Old (Anyblend, Player)
  • Documentation
    • VIOSO 6
    • VIOSO 6 Integration
    • EXAPLAY
    • VIOSO Core 5
    • VIOSO Anyblend 5
    • VIOSO Anyblend VR&SIM 5
    • VIOSO Integrate 5
    • VIOSO Player 2
  • FAQ
    • Error and other feedback
    • Licensing
    • System & Requirements
  • Videos

VIOSO Integrate 5

home/Documentation/VIOSO Integrate 5
Expand All Collapse All
  • VIOSO Integrate Overview
  • VIOSO Integrate VS Integrate Plus
  • Media Playback Solutions
    • AV Stumpfl Pixera
      • Running Pixera Autocal standalone
      • UV-Mapping and 3D calibration
      • Multi-client setups
    • Vertex VIOSO & IOVERSAL Vertex
      • AutoCal Single Camera: Getting started
      • Modifying, Optimizing and Recalibration
      • Using Autocal Standalone
  • Dome- and Planetarium Solutions
  • 3D Engines
    • Unity Plugin
    • Unreal Engine Integration
      • Examples: UE4.24-.26
      • Examples: UE4.27 & UE5
    • MiddleVR Integration
  • Simulators
    • SILAB
    • Quantum 3D: Mantis
    • AVSimulation: SCANeR Studio
    • rFpro
    • Prepar3D
    • X-Plane 11
  • Projector Integration
  • VIOSO WarpBlend API
    • API usage on Windows
    • API usage on Linux
    • Implementation Remarks
    • VIOSOWarpBlend.ini Reference
    • API Examples
      • Example 1 - Simulator with moving platform
      • Example 2 - Another simulator with moving platform
      • Example 3 – Cave
      • Example 4 – Video player

AVSimulation: SCANeR Studio

601 views 0

Jerbi
January 21, 2021

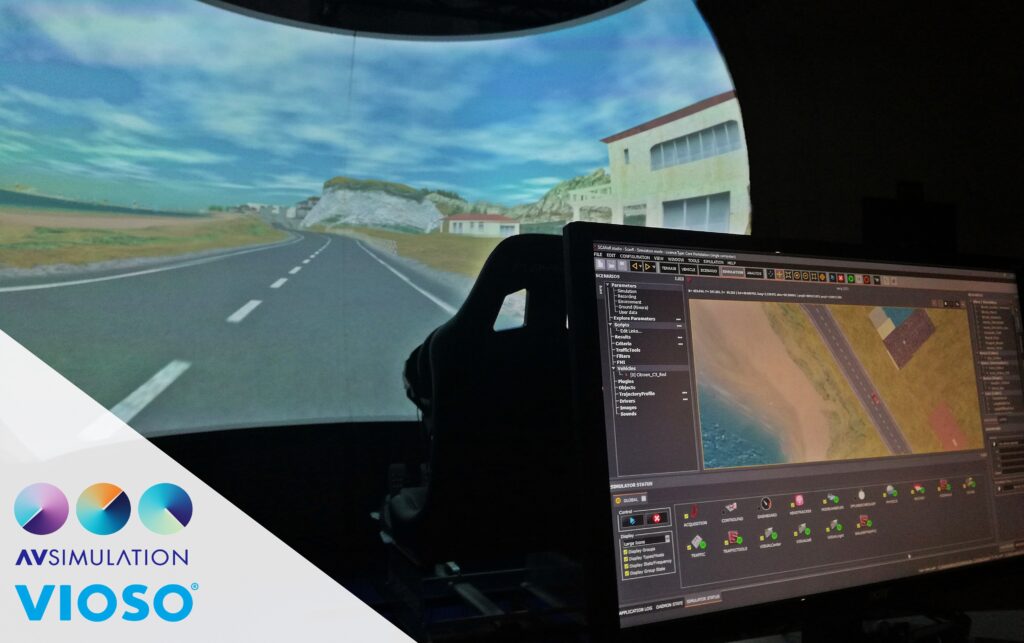
VIOSO Anyblend VR&SIM and VIOSO Integrate Plus let you export your warp and blend calibrations to the simulation software SCANeR studio by AVSimulation. Using the built-in VIOSO plugin, you can easily apply the auto-alignment of your projectors in both single and multi-serversetups, with supported dynamic warping for motion platforms and eye tracking.

Integration guideline:

Table of Contents

  • 1. In VIOSO Core
    • 1.1. 3D calibration
    • 1.2. Export Mapping
  • 2. In SCANeR
  • 3. Example Configuration
  • 4. Notes

1. In VIOSO Core

1.1. 3D calibration

Perform a camera based 3D calibration with Anyblend VR&SIM or VIOSO Integrate Plus following the workflow from this guide: 3D calibration

1.2. Export Mapping

After a successful calibration of your displays, export your mapping in the VWF format:

  • From the menu bar, go to File > Export Mapping
  • Select your compound display.
  • Select the VWF format.
  • Check the 3D box.
  • Choose a file name and path.
  • Click on Export.

You can use a single .VWF containing all your channels, or split it to multiple .VWF files representing one channel each. To split, use the “VWF Display assign tool” installed in your VIOSO application path under “shared tools”.

2. In SCANeR

  1. Create a visual process for each projector:
    • From the menu bar, go to Configuration > Configuration Manager
    • From the “computers” tab, select “localhost” and click on the Add Process button
    • Choose the “VISUAL” module and give it a name (preferably use no spaces).
  2. Configure the observer.cfg file in [your_install_directory]\AVsimulation\SCANeRstudio_1.9\config\ScanR
    • Create a [visual], [visual:1] and [visual:1.1] section for each of your channels following your configuration manager naming. You can use the existing [visual] in the Visual By default section of the document and edit/copy/paste it.
    • Define the position and resolution parameters for each [visual_Name:1] matching the topology of your setup.
      NOTE 1: Position for the visual window has a Y offset of (-1480) px, Ex: to skip a fullHD monitor you have to set Position = 1920 -1480
      NOTE 2:  Keep these values null to allow the plugin to overwrite them: PositionOffset = 0.0 0.0 0.0 RotationOffset = 0.0 0.0 0.0
  3. Configure the visualPlugin.cfg in [your_install_directory]\AVsimulation\SCANeRstudio_1.9\config\ScanR
    • Create a [Visual_name] for each projector, and assign its attribute to VisualPlugin=WarpingVioso.dll
  4. Configure the WarpingViosoPlugin.cfg in [your_install_directory]\AVsimulation\SCANeRstudio_1.9\config\ScanR
    • Create a [Visual_name] for each projector, and assign its attributes as following:
      • iniFile= VIOSOWarpBlend.ini file path, can be a single file or one for each channel.
      • channelName= Name of the channel in the .ini file, if you are using one single one. If using seperate files, delete this attribute.
  5. Configure the VIOSOWarpBlend.ini: the two key properties here to edit are:
    • calibFile= path to your .VWF exported file(s)
    • [channel_name] and calibIndex if using a calibration file with multiple channels.
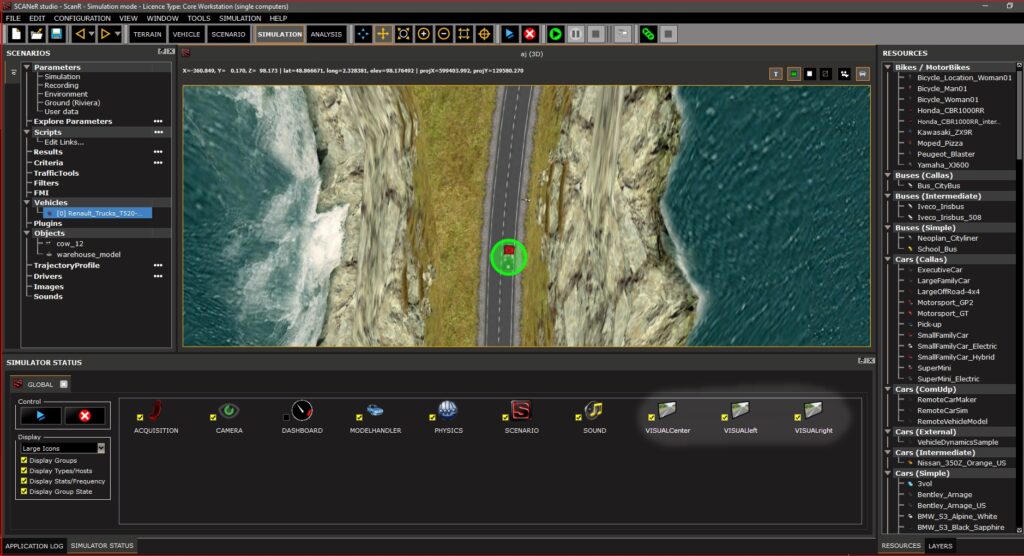
  6. Start your simulation:
    • Load a sceneario
    • From the Simulator Status tab, double click the Visual processes you created to start them
    • Click on the Play Scenario Icon from the top bar.

3. Example Configuration

  • Setup description:
    • 1x Machine
    • 5x outputs:
      • 2x Full HD monitors
      • 3x Projectors (Warped and Blended)

Please find here a collection of the configuration files and calibration files used for this setup.


4. Notes

  • In a multi-server setup, make sure you have your calibration files (.vwf) and configuration files (.ini) in a shared directory.
  • This integration supports dynamic eyepoint. To use it, add a “headtracker” process to your configuration and match it with your tracking device.

Was this helpful?

Yes  No
Related Articles
  • Examples: UE4.24-.26
  • SILAB
  • Quantum 3D: Mantis
  • VIOSO Integrate Overview
  • Examples: UE4.27 & UE5
  • rFpro

Didn't find your answer? Contact Us

Previous
Quantum 3D: Mantis
Next
rFpro
  • Ticket System
  • VIOSO Home
  • Imprint
  • Forum
  • © 2020-now VIOSO GmbH. All Rights Reserved.

We use cookies on our website to give you the most relevant experience by remembering your preferences and repeat visits. By clicking “Accept”, you consent to the use of ALL the cookies.
Do not sell my personal information.
Cookie settingsACCEPT
Manage consent

Privacy Overview

This website uses cookies to improve your experience while you navigate through the website. Out of these, the cookies that are categorized as necessary are stored on your browser as they are essential for the working of basic functionalities of the website. We also use third-party cookies that help us analyze and understand how you use this website. These cookies will be stored in your browser only with your consent. You also have the option to opt-out of these cookies. But opting out of some of these cookies may affect your browsing experience.
Necessary
Always Enabled
Necessary cookies are absolutely essential for the website to function properly. This category only includes cookies that ensures basic functionalities and security features of the website. These cookies do not store any personal information.
Non-necessary
Any cookies that may not be particularly necessary for the website to function and is used specifically to collect user personal data via analytics, ads, other embedded contents are termed as non-necessary cookies. It is mandatory to procure user consent prior to running these cookies on your website.
SAVE & ACCEPT